In this article I want to explain you shorty, how you can achieve Cupertino Radio Buttons with Flutter. You can use these buttons to select one out of multiple options, e.g. to select a gender.
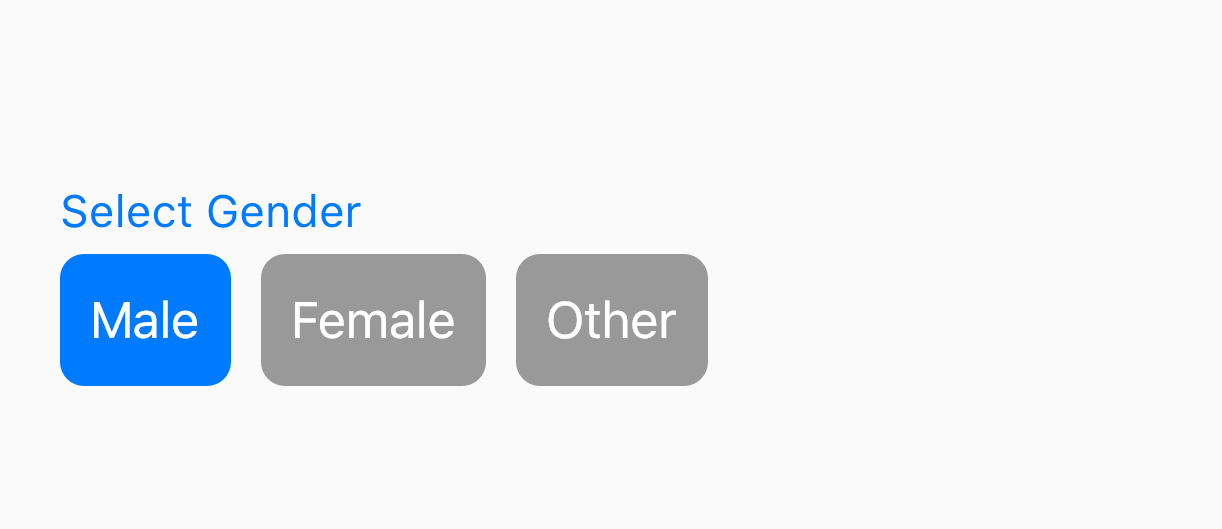
Let’s explain it with an example: The next steps will explain you how to create a gender selection with cupertino radio buttons (see article image).
1. Add the library cupertino_radio_choice to your project
Luckily, there’s already a library called cupertino_radio_choice which we’ll use to create the radio buttons.
Therefore, integrate cupertino_radio_choice into your project by adding it to pubspec.yaml:
dependencies:
  cupertino_radio_choice: 1.0.0+1
2. Usage of CupertinoRadioChoice Widget
You can use CupertinoRadioChoice like this:
CupertinoRadioChoice(
    choices: {'male' : 'Male', 'female' : 'Female', 'other': 'Other'},
    onChange: (selectedGender) {},
    initialKeyValue: 'male')
First, choices takes a key value map. The keys are the identifiers for the values. You will see the values in the radio buttons.
Second, you can use onChange to pass a callback function to the widget. This function will be called if the user selects another choice.
Finally, initialKeyValue specifies the key which will be selected initially by the widget.
3. Create a Gender Section with Cupertino Radio Buttons
As you can see in step 2, it is easy to use CupertinoRadioChoice. Now it’s time to try it out with an example.
Therefore, here you can find an example how to create a gender selection with radio buttons:
import 'package:cupertino_radio_choice/cupertino_radio_choice.dart';
import 'package:flutter/material.dart';

import 'package:flutter/cupertino.dart';

void main() => runApp(ExampleApp());

class ExampleApp extends StatelessWidget {
  @override
  Widget build(BuildContext context) {
    return MaterialApp(
      debugShowCheckedModeBanner: false,
      home: MyHome(),
    );
  }
}

class MyHome extends StatefulWidget {
  @override
  _MyHomeState createState() => new _MyHomeState();
}

class _MyHomeState extends State<MyHome> {
  static final Map<String, String> genderMap = {
    'male': 'Male',
    'female': 'Female',
    'other': 'Other',
  };

  String _selectedGender = genderMap.keys.first;

  @override
  Widget build(BuildContext context) {
    final genderSelectionTile = new Material(
      color: Colors.transparent,
      child: new Column(
        crossAxisAlignment: CrossAxisAlignment.start,
        children: <Widget>[
          const Text('Select Gender',
              style: TextStyle(
                color: CupertinoColors.systemBlue,
                fontSize: 15.0,
              )),
          const Padding(
            padding: EdgeInsets.only(bottom: 5.0),
          ),
          CupertinoRadioChoice(
              choices: genderMap,
              onChange: onGenderSelected,
              initialKeyValue: _selectedGender)
        ],
      ),
    );

    return new Scaffold(
      body: Padding(
          padding: const EdgeInsets.fromLTRB(20, 100, 20, 50),
          child: Column(children: <Widget>[genderSelectionTile])),
    );
  }

  void onGenderSelected(String genderKey) {
    setState(() {
      _selectedGender = genderKey;
    });
  }
}